So I’m building this app with a NextJS frontend and a Django backend and this is bringing tons of headaches with cross-origin resource sharing (CORS for the uninitiated… and you should feel lucky if you don’t know about it) and all kind of cookie troubles.
In order to debug this, I need to have the same setup on my dev environment as in production, just using localhost and different ports is not good enough. So I set out to get some local domain names and SSL, which is actually fairly standard, but hit a few snags on the way in that many guides out there are outdated with Apple Silicon Macs and MacOS Sequoia.
So here’s what I found that works.
The plan
I will setup 3 things:
- A
.testtop level domain that will resolve anything, such asapp.testandapi.app.testto 127.0.0.1 - A way to have valid SSL certificates for any of these domains
- A web server that can route requests to these domains to your dev servers running with things like
bun run devorpython manage.py runserver
All of this on a recent Mac with Apple Silicon and the latest MacOS Sequoia.
I will assume you have homebrew running already, if not you need to rethink your life.
1. Local DNS with dnsmasq
dnsmasq is a lightweight DNS forwarder and DHCP server that provides simple network services for small networks. It can cache DNS queries to speed up subsequent requests and allows you to create custom DNS records for local domains.
brew install dnsmasqFirst we’ll declare a new .test tld and tell MacOS to resolve it with our local DNS server which we will setup with dnsmasq instead of calling the live DNS servers on internet. We do this by setting up a single file /etc/resolver/test
nameserver 127.0.0.1Just change the name of the file if you want something else than .test
Now setup dnsmasq by adding a conf file at /opt/homebrew/etc/dnsmasq.d/test.conf
address=/test/127.0.0.1This tells it to resolve any domain *.test to localhost. That’s where a lot of existing guides fail because they tell you to add the conf in /usr/local/etc/ and that’s for Intel Macs.
Start the service now:
brew services start dnsmasqVerify your stuff is working by pinging foo.test
2. SSL setup with mkcert
mkcert is a simple tool for creating locally trusted SSL certificates without the hassle of configuring a Certificate Authority. It’s perfect for developers who need HTTPS for local projects, making it easy to set up secure connections during development.
brew install mkcertThen we will install the root certificate and generate a certificate for our project.
mkcert -install
mkcert "app.test" "*.app.test"
Move the files to somewhere safe. I just put them in /Users/francois/certs/. That’s it.
3. Reverse Proxy with Caddy
Caddy is a modern, user-friendly web server that automatically manages HTTPS by acquiring and renewing SSL certificates. Known for its simplicity and ease of configuration, it’s ideal for developers who want a secure, performant, and versatile server without complex setups.
brew install caddyThe configuration file for Caddy is in /opt/homebrew/etc/Caddyfile
app.test {
  tls /Users/francois/certs/app.test.pem /Users/francois/certs/app.test-key.pem
  reverse_proxy localhost:5100
}

api.app.test {
  tls /Users/francois/certs/app.test.pem /Users/francois/certs/app.test-key.pem
  reverse_proxy localhost:8000
}
Just map your domains to whatever local ports your dev servers are running on. Now run Caddy as a service:
brew services start caddyConclusion
That’s it! You should be all set now.
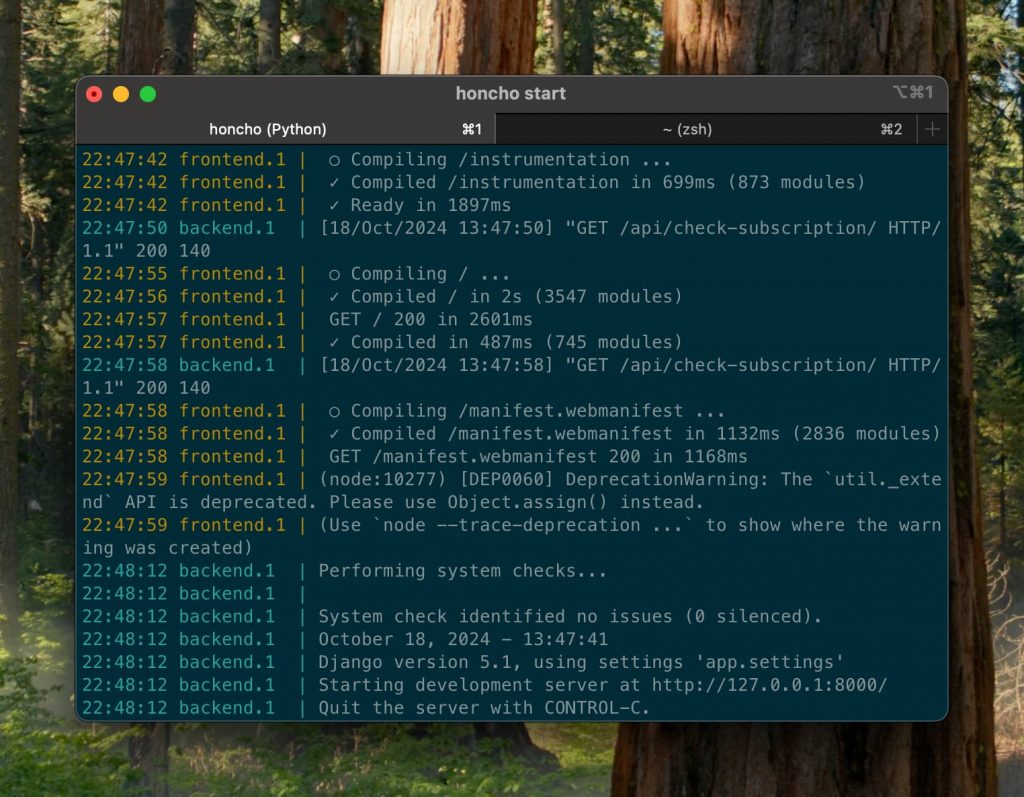
As a tip, I like to use honcho to run my dev servers. You just set a Procfile with your service and run honcho start and you have everything running with logging in your console with different colors for each service.
backend: cd backend && python manage.py runserver
frontend: cd frontend && bun dev
stripe: stripe listen --forward-to localhost:8000/webhooks/stripe/


Leave a Reply